Tuesday, August 19, 2014

All Good Things Take Time: The Demolition

In my last blog post, I talked about the closing process of our new home. As of right now, we are still involved in the renovation process. That may come as a shock to some because we closed on our place mid-July and started renovations the day after we closed. I mean we have officially owned our place for over a month and we are still not done renovating? Mind blown. Life is not an HGTV episode. If you are unfamiliar with renovations, probably the most important thing I can ever share with you is: renovations are not glamorous and will take longer than planned. All good things take time. That does not mean every renovation will take months to complete, but do not be alarmed if it does take months. With that mindset, I have been able to see the big picture and really plan out every detail.

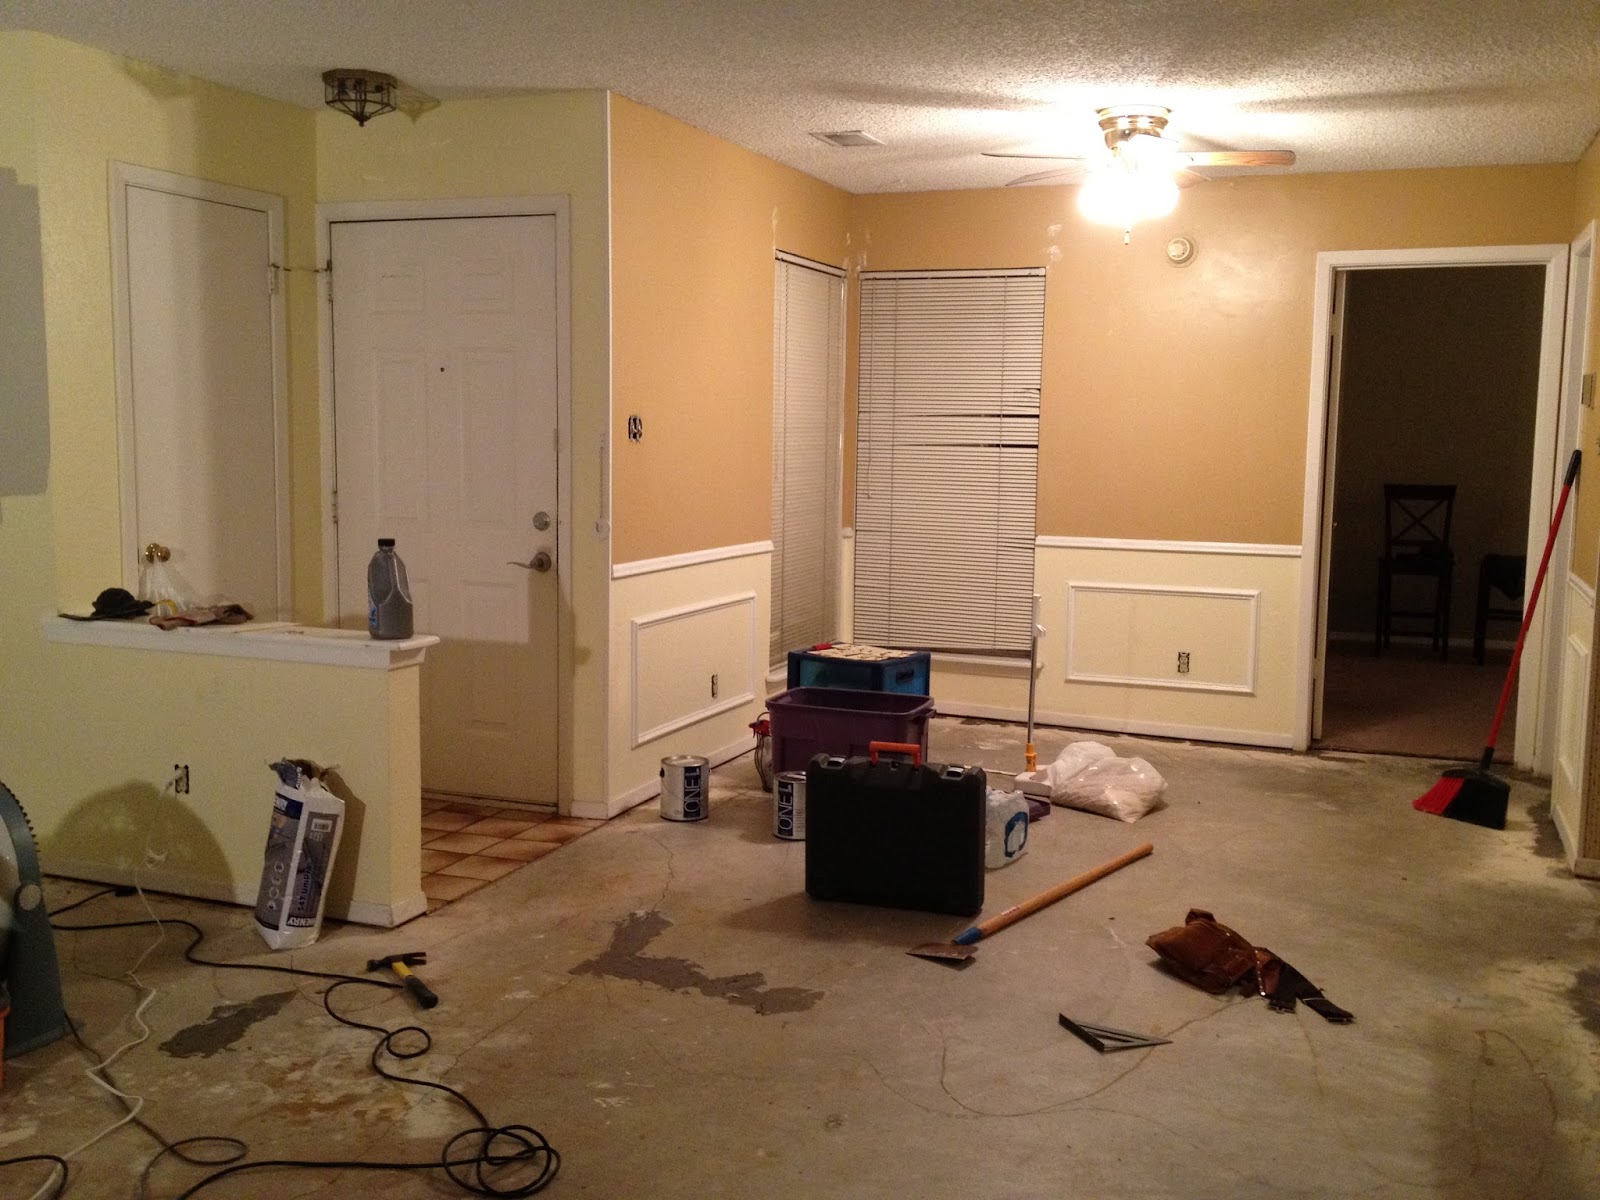
The very first part of our renovation project entailed scraping the popcorn ceilings that carried throughout the condo. We knew that we were going to replace all the flooring, so we did not bother laying out protection for the floor before we started scraping the ceilings. Our previous knowledge of popcorn ceilings directed us into making a mixture of part water and part vinegar to spray onto the ceilings in order to make the process much easier, as well as to help prevent dust and texture particles from stirring into the air.


At the same time as my husband, brother, mother, and I worked on scraping the ceilings (it worked out better having a couple people spray and a couple people scrape), my dad began working on the demolition of the kitchen pantry. While my dad was in the process of taking out the kitchen pantry, we discovered, underneath the laminate flooring, real hardwood parquet flooring from the 70s. At this point, I felt like an archaeologist discovering the remaining bones of some prehistoric creature that has long been extinct. I began to wonder if the parquet flooring ran throughout our place, including the carpeted parts of our home. We soon discovered that it did not, which turned out to be a blessing.


After we had finished scraping the ceilings, it was time to take out all the flooring. The carpet was the easiest to pull out. If you have never pulled out carpet, all you do is grab a corner or lose section, pull, and roll it up. Ta-Da all the carpet is gone! The laminate flooring also came up pretty easy because the majority of the pieces were not securely installed. Despite the long daunting task of taking out the tile in the bathroom, the most difficult flooring to take out was the hardwood parquet flooring. I sadly attempted getting some of the parquet flooring up, but I left most of that work to my dashing husband who pulled up all the parquet without a struggle. Half of the parquet was installed with liquid nails and the other half was installed with another kind of adhesive. The two different types of adhesives had crystallized, making it very difficult to pull up the hardwood parquet flooring, especially in the areas where they used liquid nails. So, like I said before, it turned out to be a blessing that the parquet flooring did not run throughout our home.


(the important men of my life)


My father-in-law removed many of the kitchen cabinets in order to restore the body of the cabinets. They are original to the unit and were made with actual hardwood, as opposed to synthetic cabinetry that is built and more commonly used. The synthetic cabinetry that is mainly used is particle board, unless you pay extra to get good, solid wood cabinets – keywords: pay extra. We desire the best quality, so we are turning to the expert (who also happens to also be family). Lucky us!


Another part of our renovation project was the guest bedroom wall, and unfortunately, there was obvious evidence of water damage. It is always nerve racking for any homeowner to open up the walls of their home and see what is really happening on the other side. Regardless, you have to do it in order to asses, repair, and prevent. After taking out the guest bedroom closet all together, we opened the wall. Tearing open the wall was a joke. The water damage was so bad that the wall easily gave way with minimal pressure (which made for a fun time pretending to have super-human strength, kicking and punching through the wall). After exposing everything, it had us stumped as to the cause of the water damage because nothing was wet. Everything within the wall gave evidence that it once was wet, but no longer. It was not until later that we discovered the culprit to the mysterious water damaged wall. After looking up in the joists, you could see a previously punctured waterline that had been repaired. With new construction, it is not of practice, and is highly frowned upon, to run your waterline through the joists at the base of the floorboards. As you can see from the photo, it is evident that our neighbors upstairs had installed flooring of some kind (most likely wood flooring), and shot a nail through the waterline. This would result in a horrible flooding issue. You can also see that they had to cut into the floor to repair the waterline (all the "green stuff" on the piping is evidence).  Fortunately for us, the water leak in the pipe had been repaired and the only thing that needed to be replaced was the Sheetrock. Easy peasy! In all seriousness, we lucked out that we did not find some serious water damage.


(pictured above is two different views of the punctured waterline, you can see that the pipe runs right under the floorboards)

All that was left, as far as the demolition was concerned, was the removal of several additional walls, taking out the bathroom door and frame, as well as removing the bathroom vanity. 

Tuesday, August 5, 2014

Fast Forward

A lot has happened since my last blog post, and one of the biggest changes in my life is that I am a newly married lady. I like to think back to when my husband, Christopher, and I first met and started dating, and I’m almost shocked when I realize that nearly three years have passed since that time. It is true when people say that time flies, and it is very important to cherish every moment. With that being said, I also believe it is imperative to capture every moment and milestone through pictures and written memoirs. Recently, Christopher and I closed on our very first home together in the Austin area. This one simple statement cannot begin to describe the long, drawn-out process that purchasing a home often entails. Since I do not want to bore anyone, I will touch on the highlights of our experience with purchasing our home.

Due to all the recent growth in Austin, finding a place to buy can be a near-impossible challenge. Even months before the wedding, I had been searching for a place that Christopher and I can call home. Needless to say, every home search merely led to disappointment. Just when all hope seemed lost (just to play-up the dramatics), God sent us a blessing. We have some friends who happened to be selling a condo in the exact neighborhood Christopher and I were looking to move too. In all seriousness, when it seemed that we had no hope of finding a place to live, God provided, almost as if to say: “Rely on Me; I will take care of you.” We were so excited about our future home, which only made the closing process seem that much longer.

Finally after closing on the condo, it was time to get down to business. What I did not mention before was that this condo was in serious need of some TLC (Tender Love and Care). We knew from the beginning that our new place needed some fixing up, and that was probably the most exciting aspect about the condo. We could make it ours. For some, fixing up a place is a nightmare. Many individuals prefer to buy a move-in-ready home. I agree that is easier, but I like a challenge. I want to put my mark on something. I wanted to say, “Look what I did.” I wanted to put my blood, sweat, and tears into making something beautiful. And that, my friends, is exactly what I did -- obviously with the help of my very own A-Team, staring: my father and brother, who are architects, my father-in-law, who is an engineer and can build anything, my mother, who is an interior designer, and of course my wonderful husband, who is the hardest worker and can do just about anything (it's clearly a family thing).

Here are the before pictures of what our new place looks like. I took some of these photos with my iPhone using the panoramic shot. 


Above you can see the family room, entry, and kitchen area (I am standing in the dining room area taking the picture). 


The picture above is the picture of the dining room area, you can also see the kitchen to the left, and the hall closet and bathroom on the right. 


Like I said before, I took these photos with my iPhone using the panoramic shot, so excuse the choppy picture of the bathroom. 


The pictures above are pictures of the master and guest bedroom. Check out that green carpet in the master! 


(check out my next blog post to see in-progress pictures of the renovation)

Wednesday, July 17, 2013

My Passions: Home Update

I'm creating this blog so that I can share my loves and passions!

A little background knowledge about me: My name is Haleigh, I go by Haleigh Belle. I am from Austin, Texas and currently live in Abilene, Texas due to school. I have been blessed with artistic creativity from both sides of my family. My dad and his dad before him are architects, and my lovely mother does interior design (one of the many hidden talents she has). Because of their love for the arts I grew up with the same love, in other words, I absolutely LOVE architecture and interior design. 
A little over a year ago I was house hunting in the North Abilene area and stumbled upon this little diamond in the rough. . . and let me tell you this place was rough. It was a 2 bedroom 2 bathroom, an open[ish] layout that connected the living and dining areas, kitchen, laundry, and an additional sunroom. As soon as I walked into this beautiful disaster I fell in love because I could see the potential. Going through the home I could see that the (now previous) owners did not put much thought or time into keeping the place up to modern standards. I'm sure the ratty old brown carpet and the non-gender specific shades of yellow that engulfed every wall in the living room, dining room, and bedrooms was up to par for the previous owners but it was not going to cut it for me. The first thing to go was the stained russet colored carpet. It didn't take much ripping out that shoddy thing. However, the outrageous 1980s vinyl that covered the floor of the kitchen was a hassle to rip up. Not long after we started ripping up the floors I came to a decision on what color I wanted for the living room, dining room, and kitchen. I choose a stone grey color white white trim. 

Above is a semi-before photo taken by me standing in the living room facing the dining room and front door. You can see the distasteful wall color, however the unattractive carpet has already been removed exposing the concrete flooring under neath.

Above is a picture standing in the living room facing the fireplace and door to the master bedroom.

Above is a picture taken standing in the same spot as before but facing the kitchen. Notice the horrid wallpaper in the kitchen.

Above is an in-process photo taken facing the main living room wall.


After my family and I spent most of the night painting, the following day my older brother and I took on the task of sludge hammering the tile off the fireplace.

Above is my older brother taking a whack at my fireplace.

The fireplace didn't stand a chance against my brother and I (mostly my brother because he is so much stronger than I am).

Once the fireplace was taken care of, the painting queen (my mother) and I made our way to my room to start painting. The master bedroom was a color combination of - get this - yellow and brown! Oh my goodness, did anybody think that through? Yellow and brown?! After the shock of being swallowed up by yellow and brown walls, I selected a sky blue color for a nice relaxing feeling in my new room.

Pictured above is the colors my room used to be. Talk about gruesome!


Above is another picture of my master bedroom. Here you can get a glimpse of my "vintage" bathroom and wallpaper.

So far all that we have done is cosmetic changes in the house. Such as ripping up the carpet and vinyl, painting the walls, and sludge hammering tile. While, I wasn't too much help with the boys in laying my new flooring in the living room, dining room, and kitchen; I decided to start work on the cave (also known as the master bathroom). The previous owners rented out the place to college students. Well being a college student myself I know all the positives to using stick on command hooks. I love them, they are great for dorm rooms. . . however, they are not so great on wallpaper. Well, in my bathroom the previous tenets had used command hooks to hang up their towels. . . and that turned into a problem when I tried to remove the command hook from the wall.


This is what happened. . .
All from ONE little command hook! And because of that one little thing it gave me the wonderful job of having to sand down my walls before I could paint over them. (I choose to paint over my wallpapered walls because I hate having to deal with taking wallpaper off walls. It adds so much extra work). 
For my bathroom wall color I choose to continue the flow from my bedroom into the bathroom by using half the color of my bedroom and half white. 

Above is an in-progress picture of my bathroom. However, no matter how light I went with the color in my bathroom, my bathroom still seemed so dark. So I went to Lowe's hunting for a solution. I knew that in my bathroom there were two can lights, but these can lights were so out of date that I knew I needed something to help pull the light out. I found my solution in the clearance section of Lowe's, two can light converters. These light converters screw into the light bulb socket like a light bulb would but have a plate cover and cord that covers the recessed lighting and hang down like a pendant light would. I was fortunate enough to find two similar light converters on clearance for $8 as apposed to the original price that ranges between $25-$50 (those were the prices I saw at Lowe's). 


Ta-Da!! Look at those beauties! Easy install pendant lighting! Which Gives off WAY MORE light!!


Look at all that beautiful light!

Now, while I was dealing with the entire bathroom ordeal (the command hook, the painting, and the installing of new light fixtures) my father and older brother finished up the flooring in the main living area of the house. 


Look at those beautiful dark wood floors and that stunning paint job (if I do say so myself)!

 After all that hard work we then moved on to decor! 
Above is a picture of the dining room. Painted walls, new floors, new blinds, new kitchen table and chairs (new as in slightly used and purchased off of craigslist).

Above is a picture of the living room. Couch was purchased new from a furniture store in Austin, the pillows on couch from Target, the rug from Lowe's, side table and coffee table was a gift from my lovely parents, accent chairs were found at various antique stores that my mother and I refurbished, and lamp was a refurbished piece as well.